Most DIY wine cellars are created in residential basements. Why? Because a basement wine cellar is easy to control the light, heat, and humidity of the surrounding environment.
Wine is a perishable commodity, susceptible to the effects of the elements. Oxygen, lighting, temperature; all these variables can impact the chemical composition of a bottle of wine. That’s why it’s so important to select a storage space where you can control the elements.
Why is it important to preserve wine in a controlled cellar?
Think about the experience when you go to a restaurant and order a glass of wine. The menu often describes the amount of time that a wine bottle has aged in a storage unit. You’ll also notice that the wines that are preserved for years, if not decades, are priced at premium rates.
Finely aged wines molecularly change due to a complex chemical reaction amongst sugars, acids, and phenolic compounds. Primary flavours of a Merlot or a Sauvignon Blanc, for example, are balanced by more subdued notes and textures. An aged wine pleases your palate with more tasteful experiences that younger, newer wines simply can’t replicate.
The aging process creates that ideal tasting experience. The storage space where wine is given the time to age and develop is what enables those chemical reactions to occur. Vineyards and restaurants build their own custom wine storage cellars, creating those ideal conditions that allow wines to age gracefully.
The solo wine connoisseur, who has a passion for collecting and enjoying premium wines at home, also needs the right storage space to create those tasteful experiences. That’s why it’s important to know how to build a DIY wine cellar in your home basement.
10 steps to build your own basement wine cellar
If you wish to create your own wine cellar, there are a series of considerations that will impact your plans. You want to create a manageable space where you can control airflow, light (absolutely no UV lighting should be in this space), sound, and temperature. It’s only by creating these specific conditions that you’ll create a cellar space where wine can be perfectly chilled and stabilized.
Here are ten necessary steps you’ll need to follow to build your own basement wine cellar.

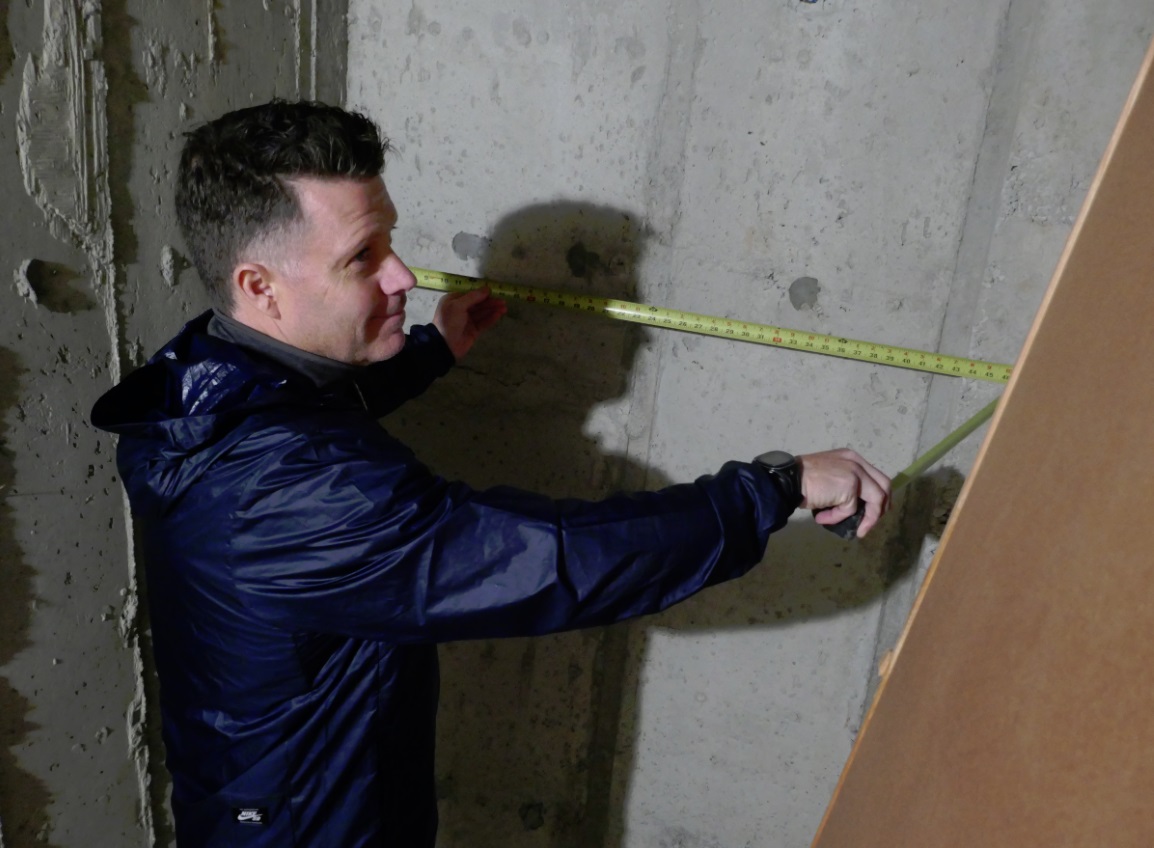
1. Choose the location very carefully
Make sure that the location you select is cool, dry, and hermetically sealed to prevent unnecessary airflow. Basements are the optimal location for a home wine cellar because they’re often protected from sunlight, sound vibrations, and any odours that could corrupt the wine. Ensure the space is secure and can function separately from the rest of the basement space.
2. Check the location for any possible leaks
Remember to check the walls for any water leaks or damage. Anything that could potentially disrupt the controlled environment you need for a basement wine cellar risks interfering with the wine aging process.
Make sure that the walls and ceiling have a minimum R-19 insulation to protect the space from disruptive airflow from above. The most secure wine cellars are built using a minimum R-19 insulation and up to a maximum of R-30 insulation. The higher the R-category, the better the insulation, and the more security it provides for your wine.
3. Seal the floors to isolate your cellar space

Once the walls and ceiling are fully protected, you also need to secure the floor space in your wine cellar. Concrete floors are necessary for a wine cellar because they help maintain cooler temperatures that support a healthy aging of the wine. Use a concrete floor sealant to close any possible leaks in the foundation or the baseboards in the room to isolate the cellar space from any outside contaminants.
4. Install the proper insulation to seal the cellar
Once you’ve checked your wine cellar space for potential leaks, you need to lay the foundation to protect the space from any future leaks. The best kind of insulation is a polyurethane spray foam, which is classified as a high performance insulation with air and vapour barrier sealing material. It helps to control air humidity and protect the cellar space from water damage.
5. Furr and frame the walls and ceiling
Upon completing the sealing of your wine cellar space, you’re ready to begin the furring and framing process. Furring refers to the wooden strips that you can install to resurface the walls and ceilings. The purpose of furring and framing is to establish a small space between the stored wine and the walls to prevent dampness, as well as make room for the proper insulation.
Here at Rosehill, we recommend using 2×6 framing lumber with R-22 batt insulation (Roxul) to secure the walls. The framing process begins after the vapour barrier in-between the wooden studs is completed.
6. Invest in a wine cellar cooling unit
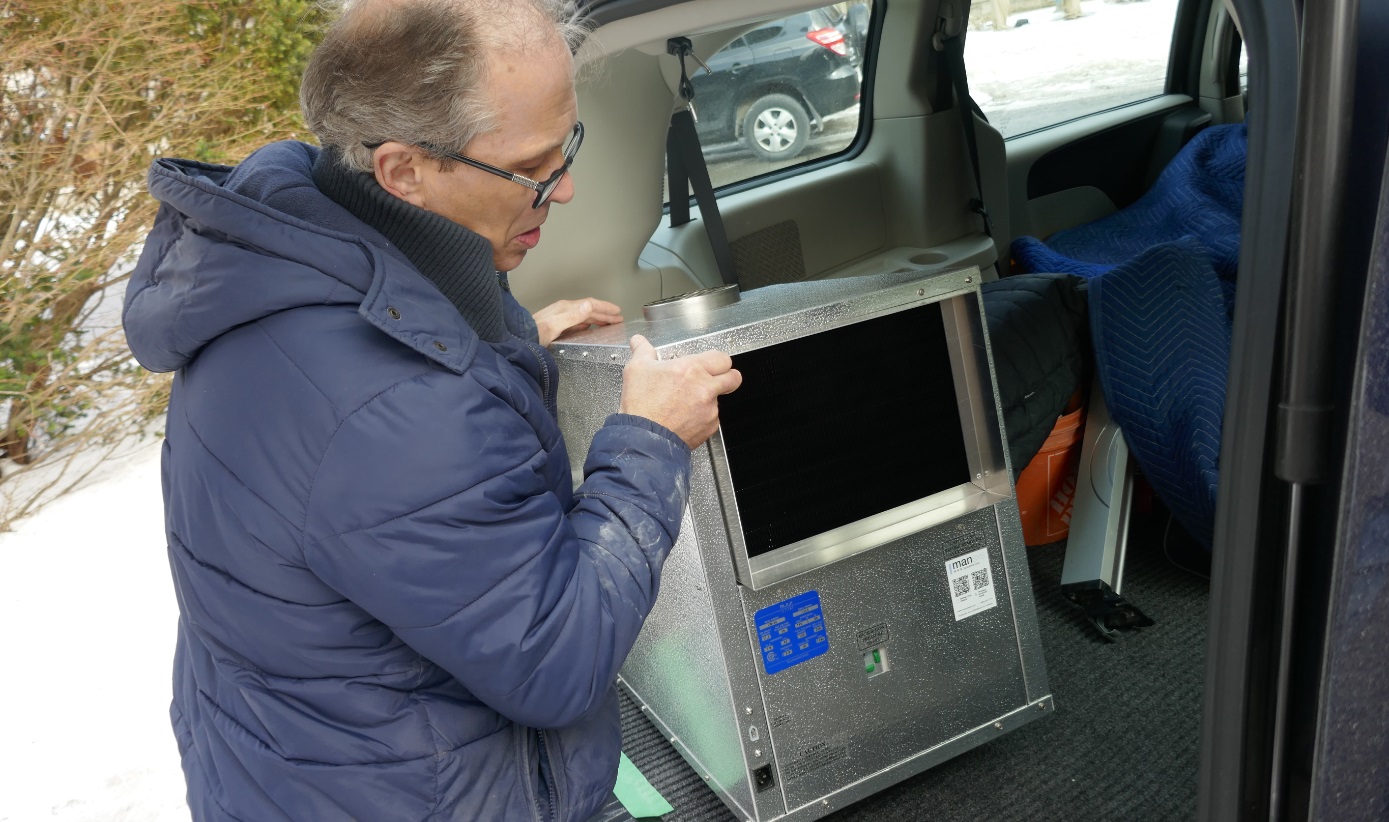
The temperature that wine is stored at is critical to maintaining the quality of the wine and ensuring the aging process occurs without disruption. Failure to maintain the proper temperature can cause the aging process to occur too rapidly, distilling the notes and textures that develop gradually over time. The wrong temperature can also cause corks to dry out, leaving the wine unsealed and unprotected.
A wine cellar cooling unit is essential to developing a proper basement wine cellar. You can program the cooling unit to the proper temperature that will age your wine and maintain a constant chill in sunny weather.
7. Install proper drywall and necessary electrical outlets
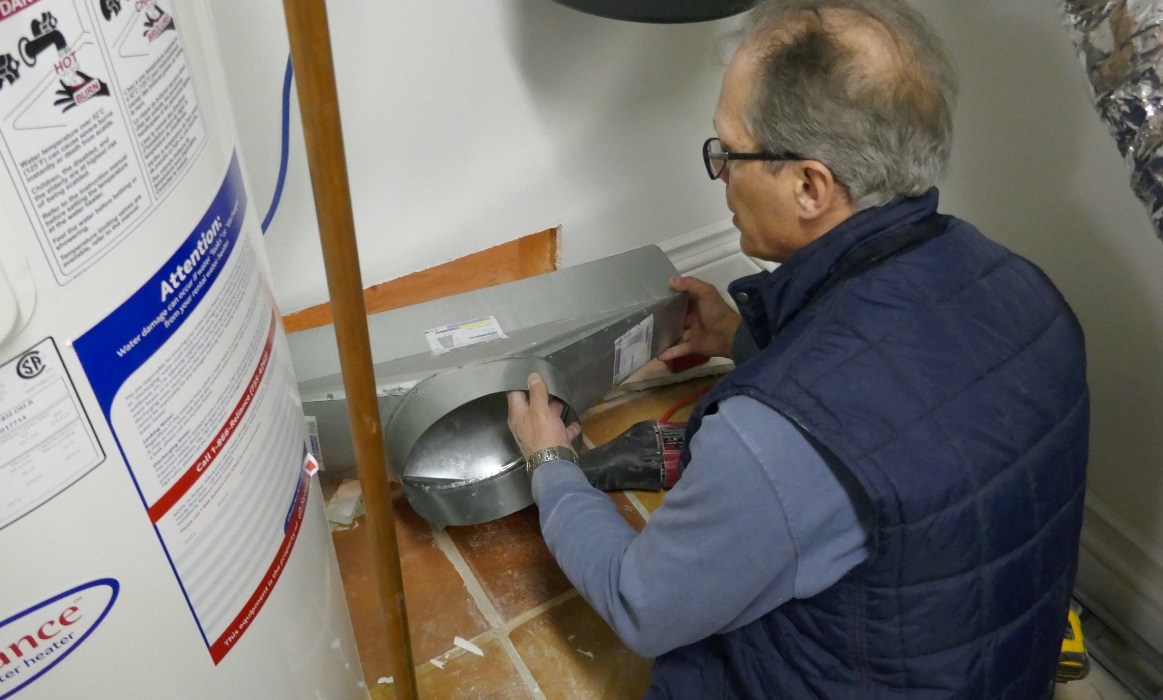
Since you need to control the temperature in your wine cellar, you need to construct the room with materials that are made to withstand a very specific degree of humidity. Water-resistant drywall will hold up in the specific temperature of the room and prevent any moisture from leaking through the insulation and ruining your stored wine.
Complete the electrical wiring, and remember to install at least one outlet to plug in your wine cellar construction cooling unit. Remember to reseal the areas around the outlets once you’ve completed the work to ensure the room remains airtight for the wine.
8. Add your select finish to the walls
Complete the electrical work and seal the walls. Now, you can customize the look to create an ambience that suits the mood of your basement wine cellar. You could simply paint the walls a certain colour, but you can also go one step further.
Finish the walls with a treatment that uses rock, faux rock, tile, wood, or brick. Select material that will customize your unique style for your basement wine cellar. Just ensure that any material you do select is built to withstand the humidity in the room.
9. Select and install a proper wine cellar door
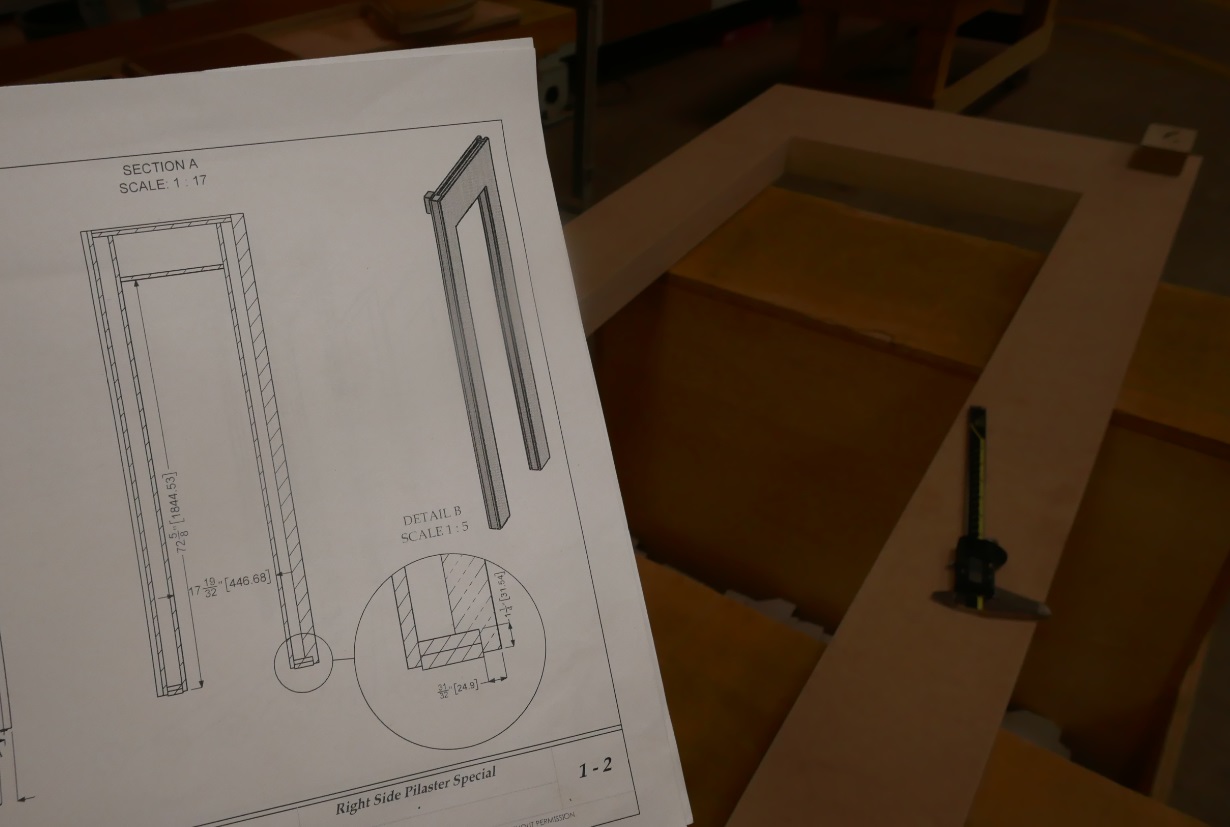
A glass door may look stylish, but it’s not the best choice to act as the final sealant for your wine cellar. That’s because glass doors don’t offer the greatest insulation, and they rank very low on that R-category insulation sealant.
Instead, make the investment in a door that’s specifically built for wine cellars. These are much heavier doors that are tough to open and close. A wine cellar door should be heavy because a door that can’t easily open or close seals the airflow in and out of the cellar space. A proper wine cellar door should make your cellar space air-resistant.
10. Complete the wine cellar with finishing touches
If you’d like to include space to sit within the wine cellar, invest in furniture and humidifier fountains that create a welcoming atmosphere for yourself and any guests.
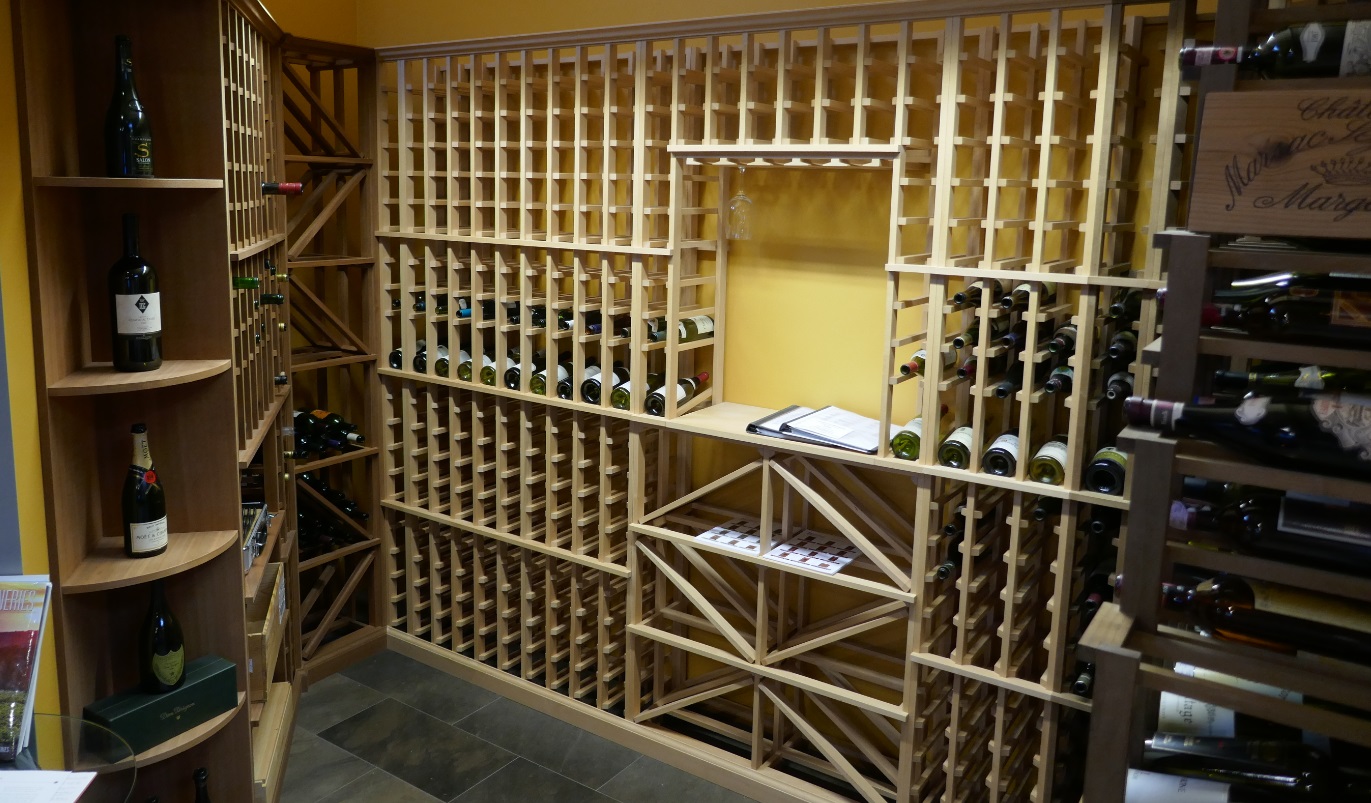
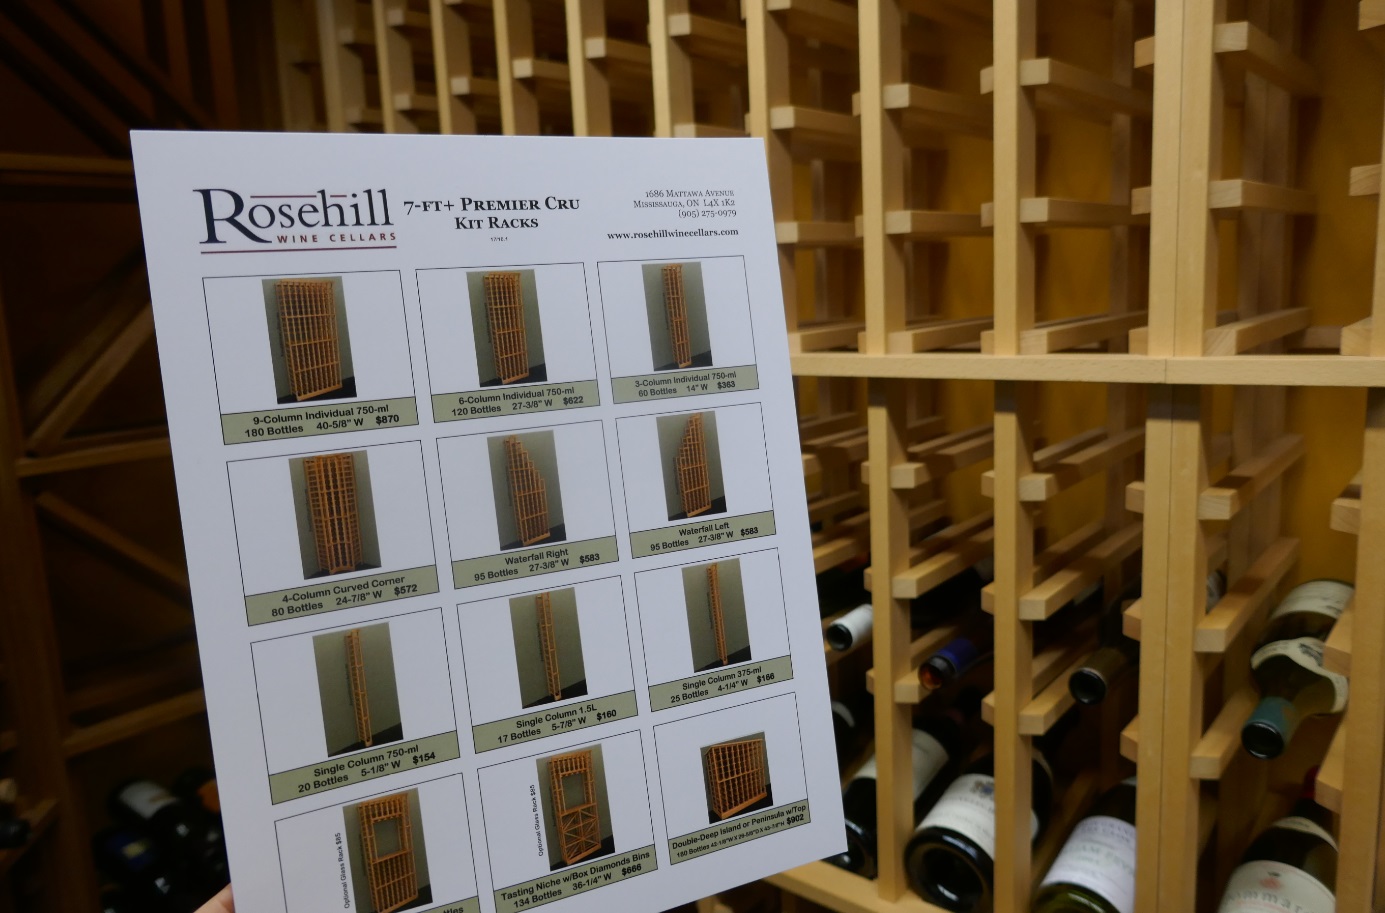
Wooden wine racks are still the best choice for storing wine. The rack designs should be accounted for as you finalize the walls and dimensions for storing your wine. Wine racks should be stylish and utilitarian. They should be selected to match the style and decor you’ve selected for your wine cellar.
We can help you with your wine cellar design to maximize storage and efficiency (and cut costs) and make it exactly perfect for your home or business.